Dedicated to all those lesser known Fender guitars and basses. Working guitars, vintage or customised guitars, even the occasional strat or tele if it's particularly interesting
I don't do submissions, but if you want me to see your guitar tag me in your post
Find me at thevideowall.tumblr.com if you want :)
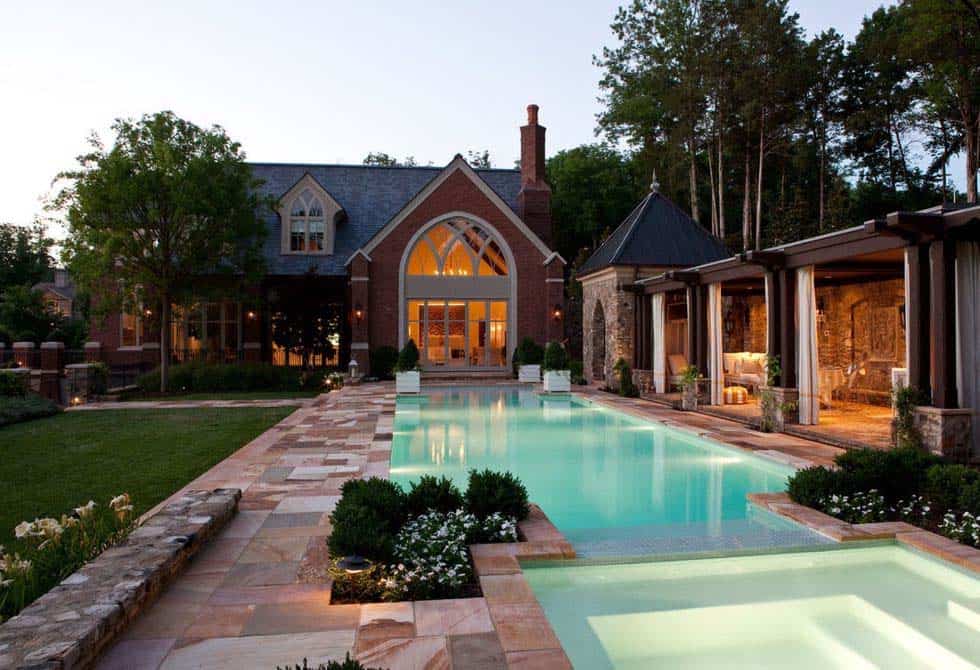
This stunning pool house and wine cellar project was designed by interior design studio Beckwith Interiors, located in Nashville, Tennessee. In addition to being an interior designer and creating her product line, Jamie has a showroom in Nashville where she has curated design products that are unique, beautiful and innovative. The pool house was designed on the grounds of her own house which is a Gothic-style estate, as a place for her out-of-town guests to stay and as an entertaining area for family barbeques and hosting charity events.
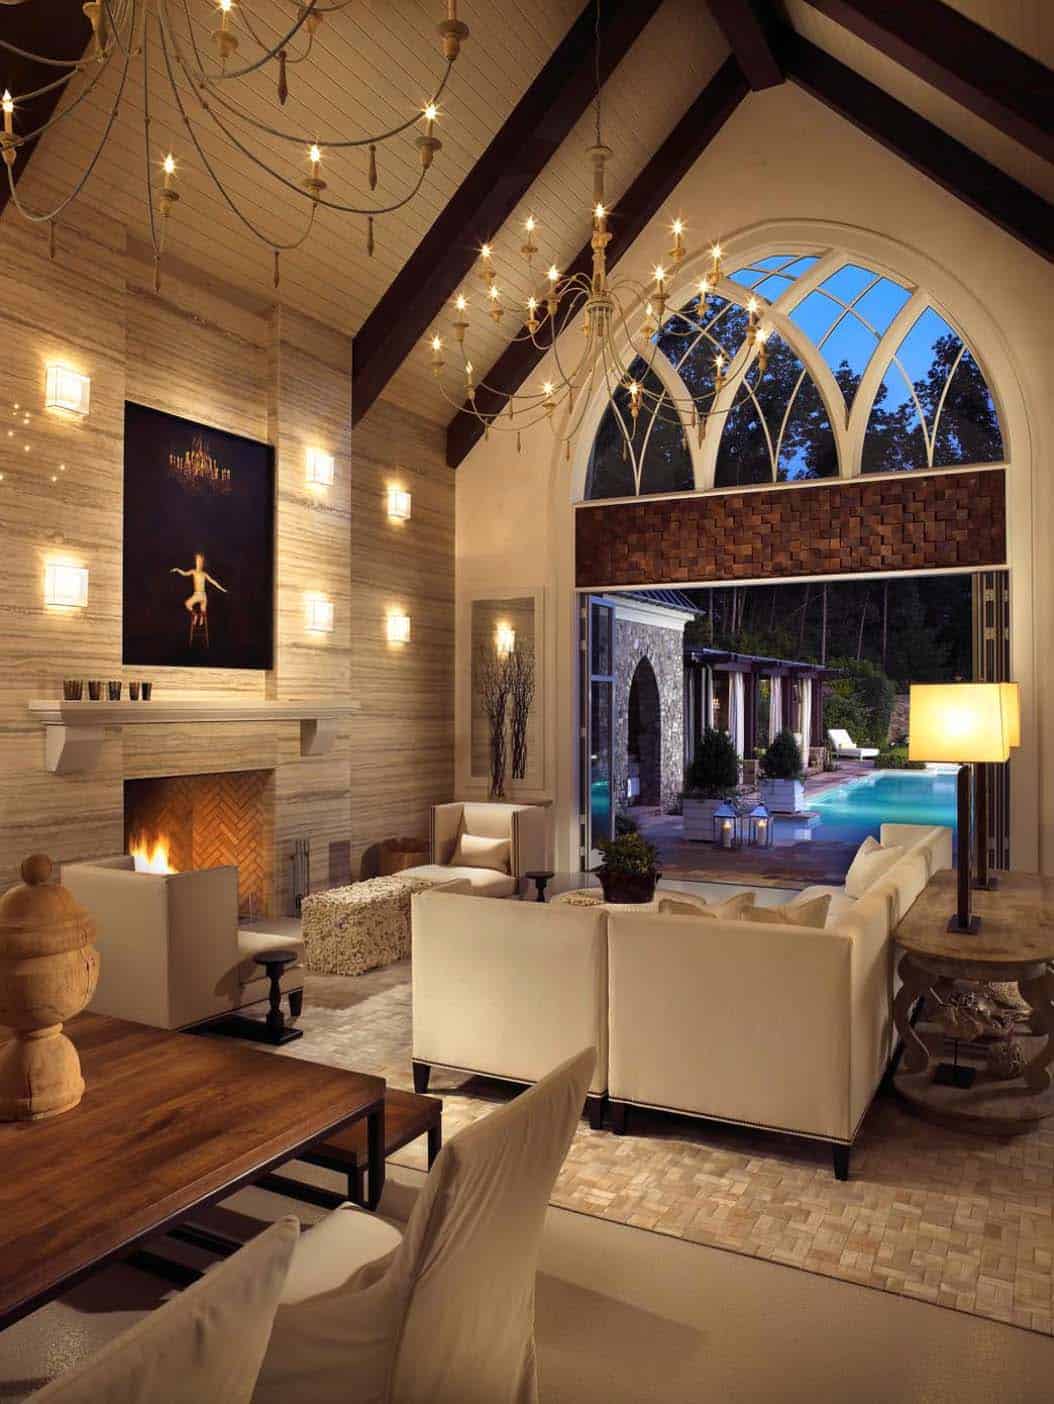
Beckwith used the pool house as an opportunity to experiment with innovative ideas that she had contrived as well as incorporating unique products that she has designed. The house is chock-full of unexpected textures, which includes wood tile flooring, murals, travertine walls and furnishings and rugs that can withstand three young children and guests that are damp from a dip in the pool. The interiors feature Gothic touches which are inspired by the main house, which is a more traditional Gothic style. The pool house has been more modernized with touches of Gothic mixed with cleaner lines.
.*
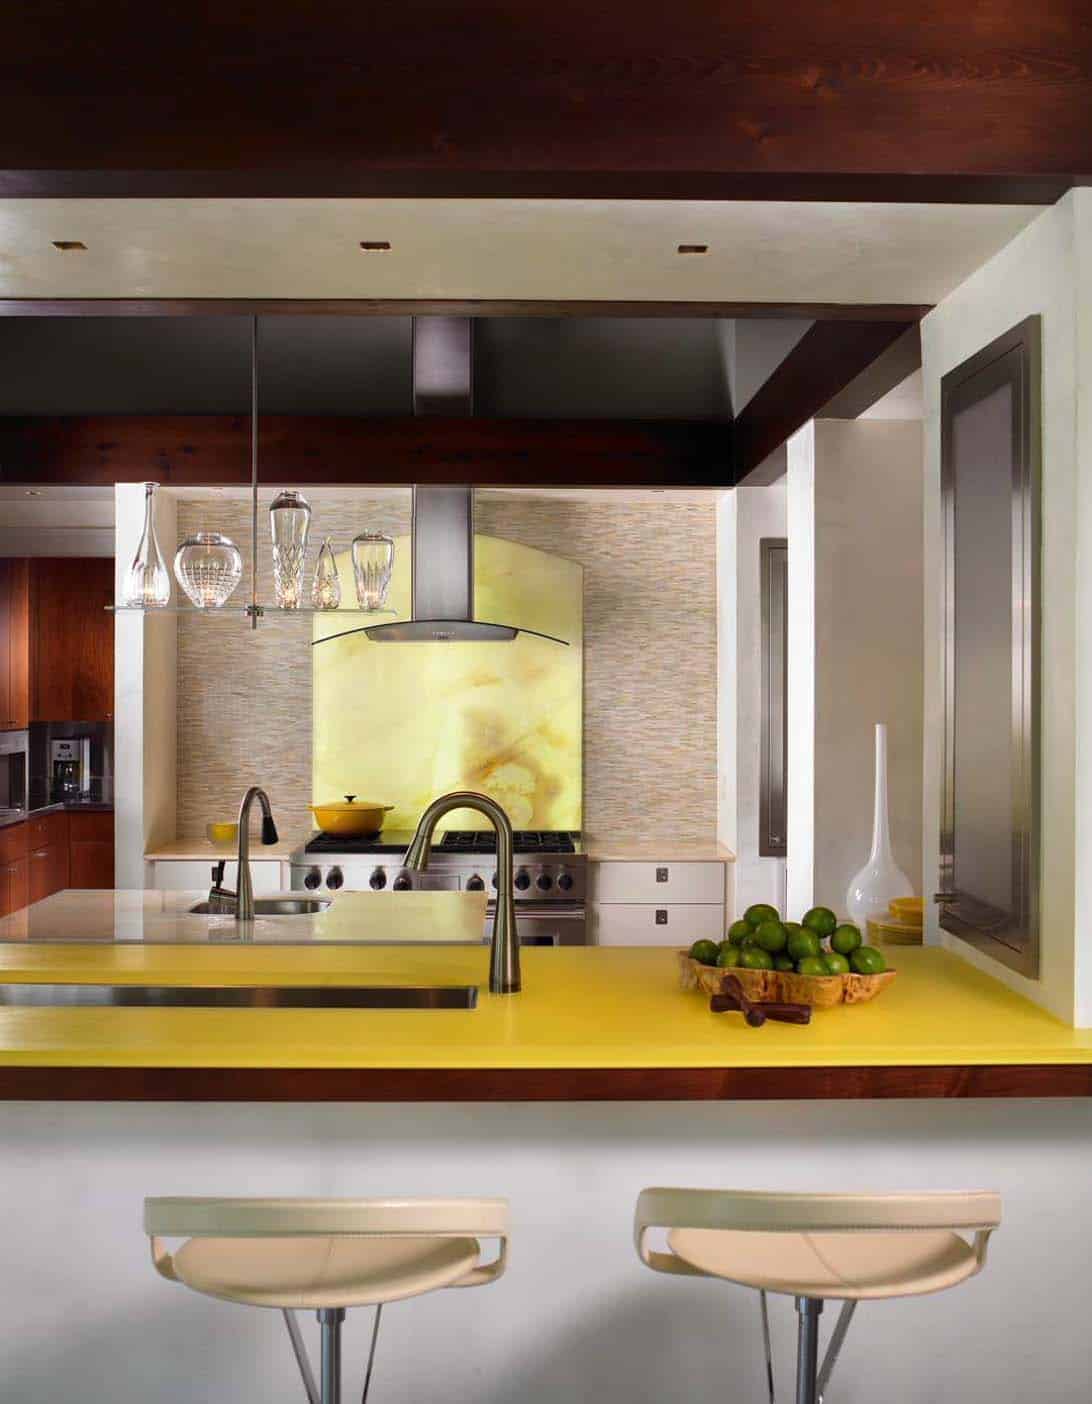
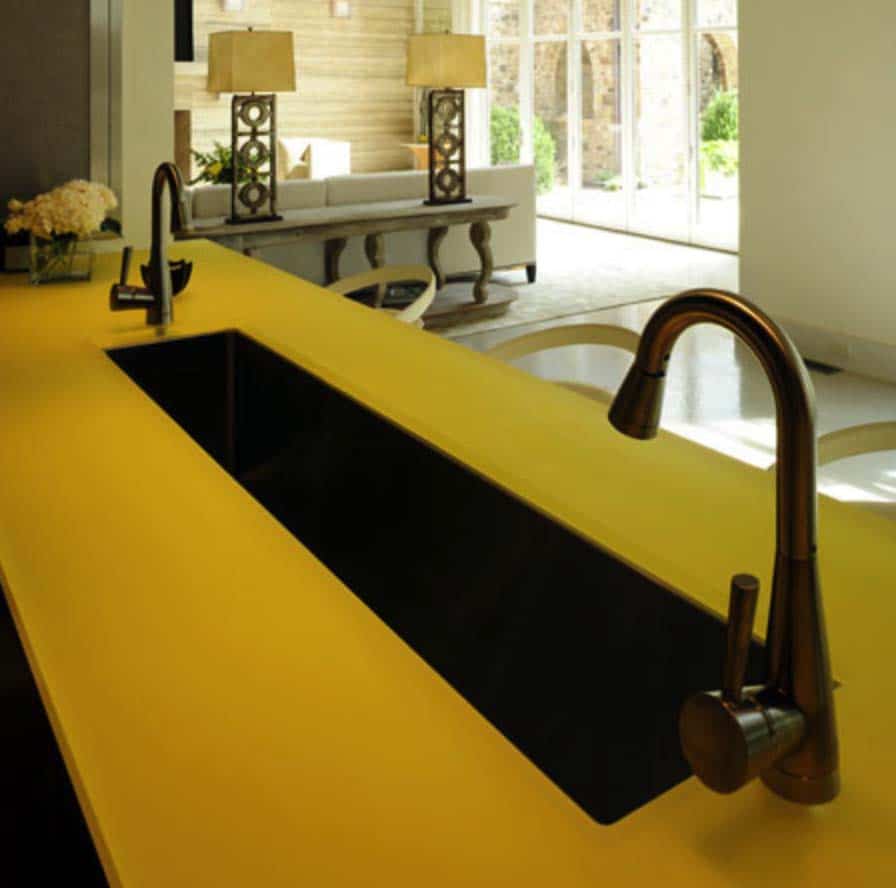
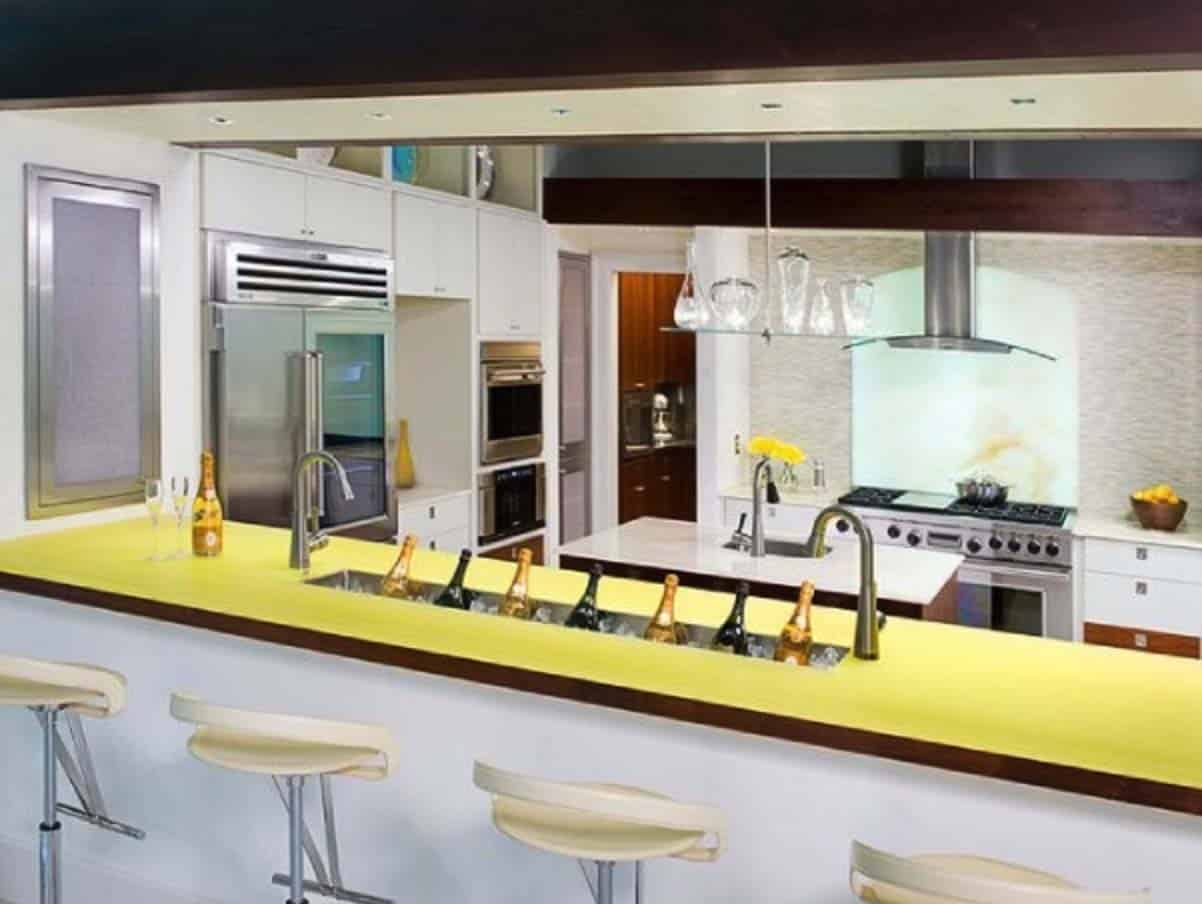
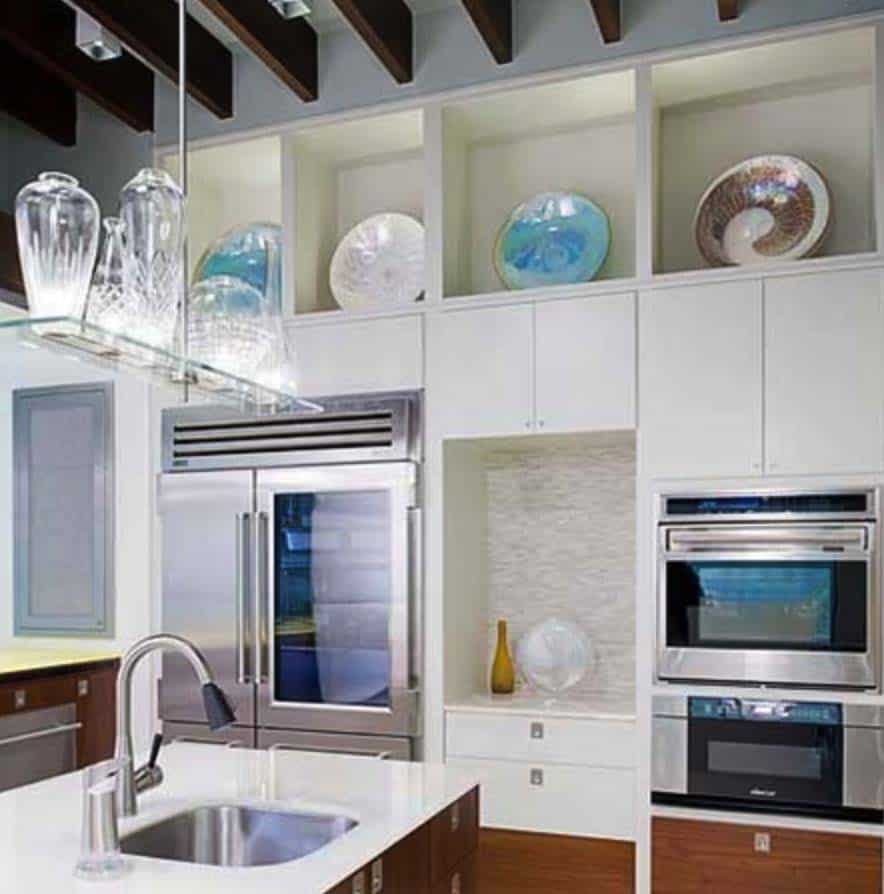
Above: The vibrant yellow kitchen counters are 3-Form Chroma in Marigold Yellow, a resin that is under-lit, found here.Above: This unique and sculptural light fixture in the kitchen is Cicatrices De Luxe 5 Pendant Light, found here.
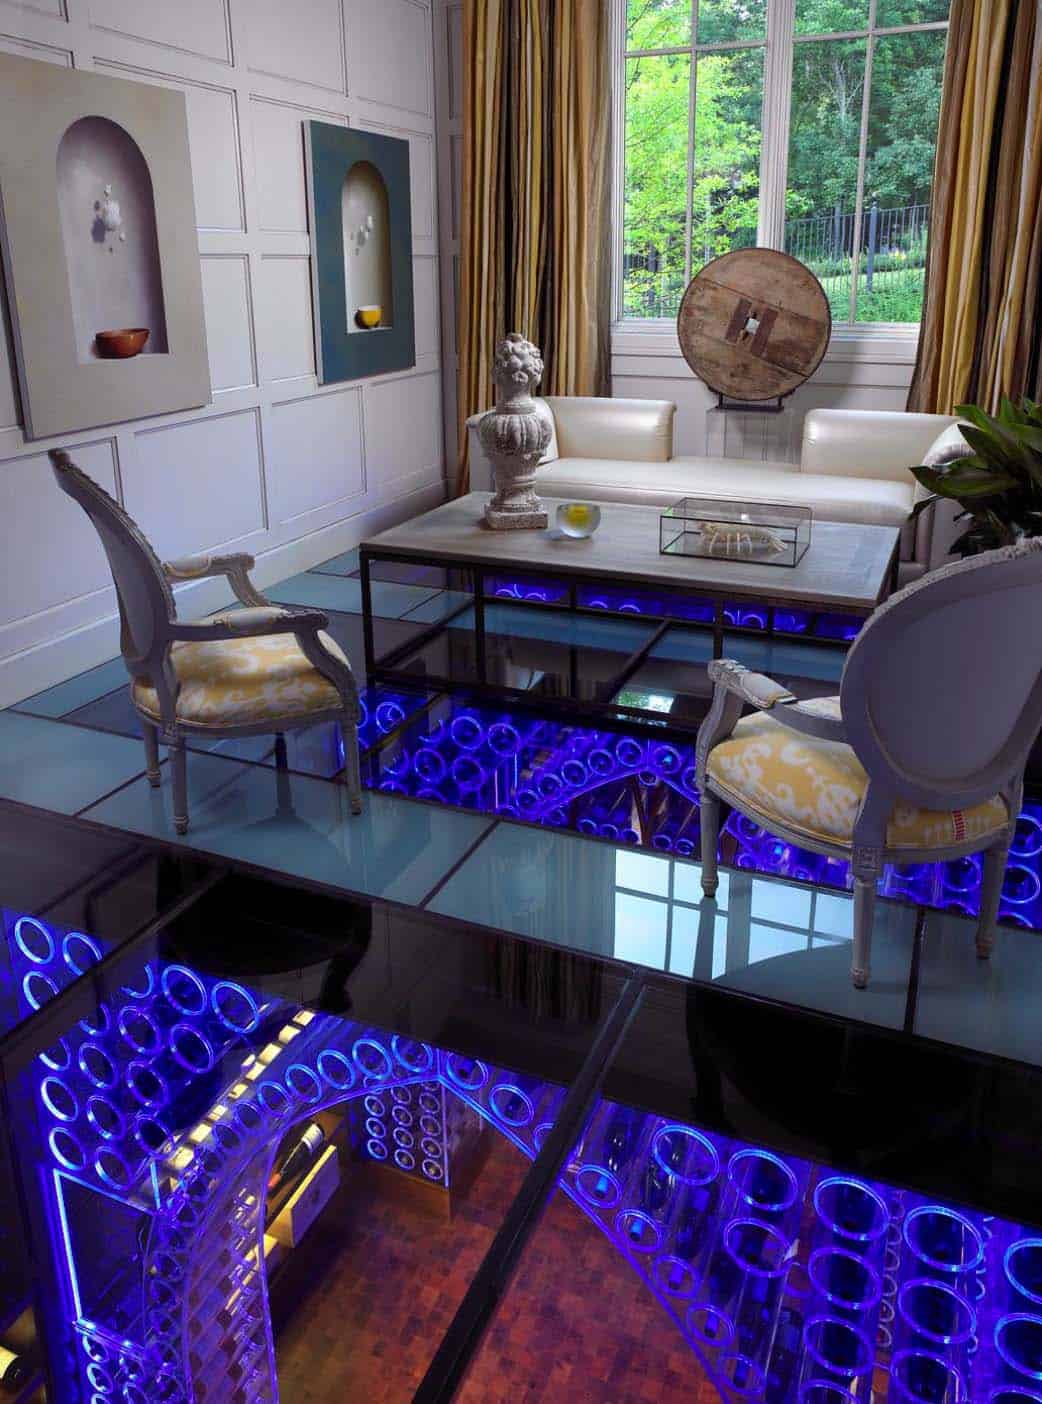
What We Love: This amazing pool house is spread out over three levels, offering everything a guest could need to feel pampered and right at home. Beautifully design spaces offers luxurious touches, including the striking walnut freestanding tub in one of the women’s bathrooms. With separate bathrooms catered to men and women, a steam room can accommodate all guests. This fully equipped pool house offers a spacious kitchen, living / dining room and a formal sitting area with a glass floor overlooking a fabulous wine cellar!
Readers, please share with us in the Comments what you think of this incredible pool house and wine cellar. We here at One Kindesign would love to read your feedback!
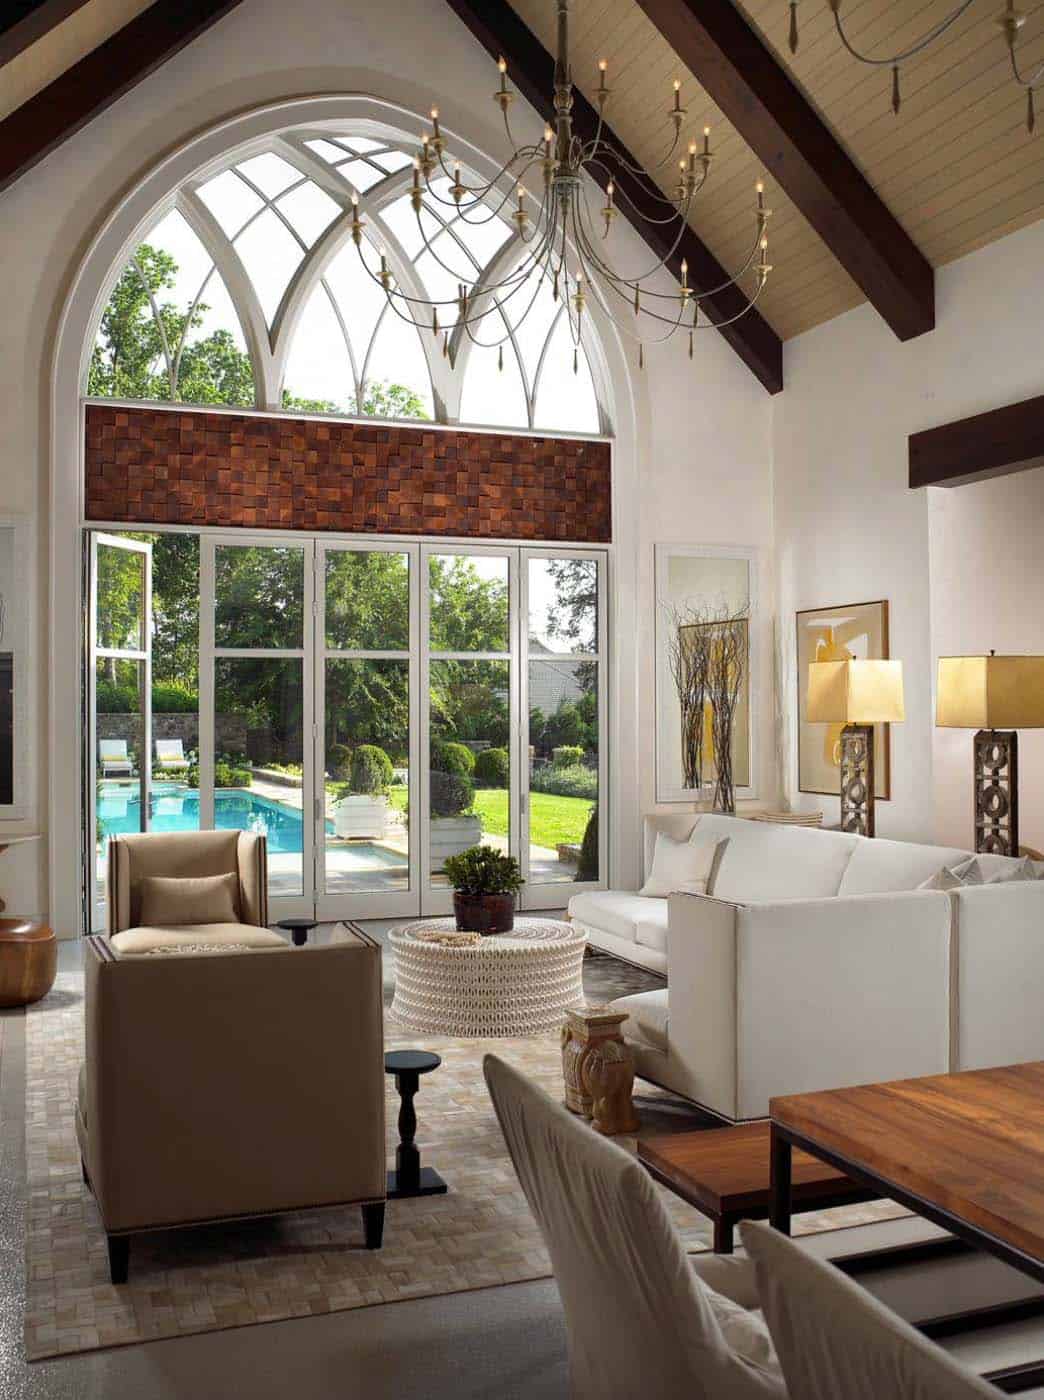
Above: Most of the fabrics used throughout the pool house are indoor/outdoor, so guests keep their wet bathing suits on when they sit on the furnishings. The flooring is an epoxy, impervious to scratches and staining.
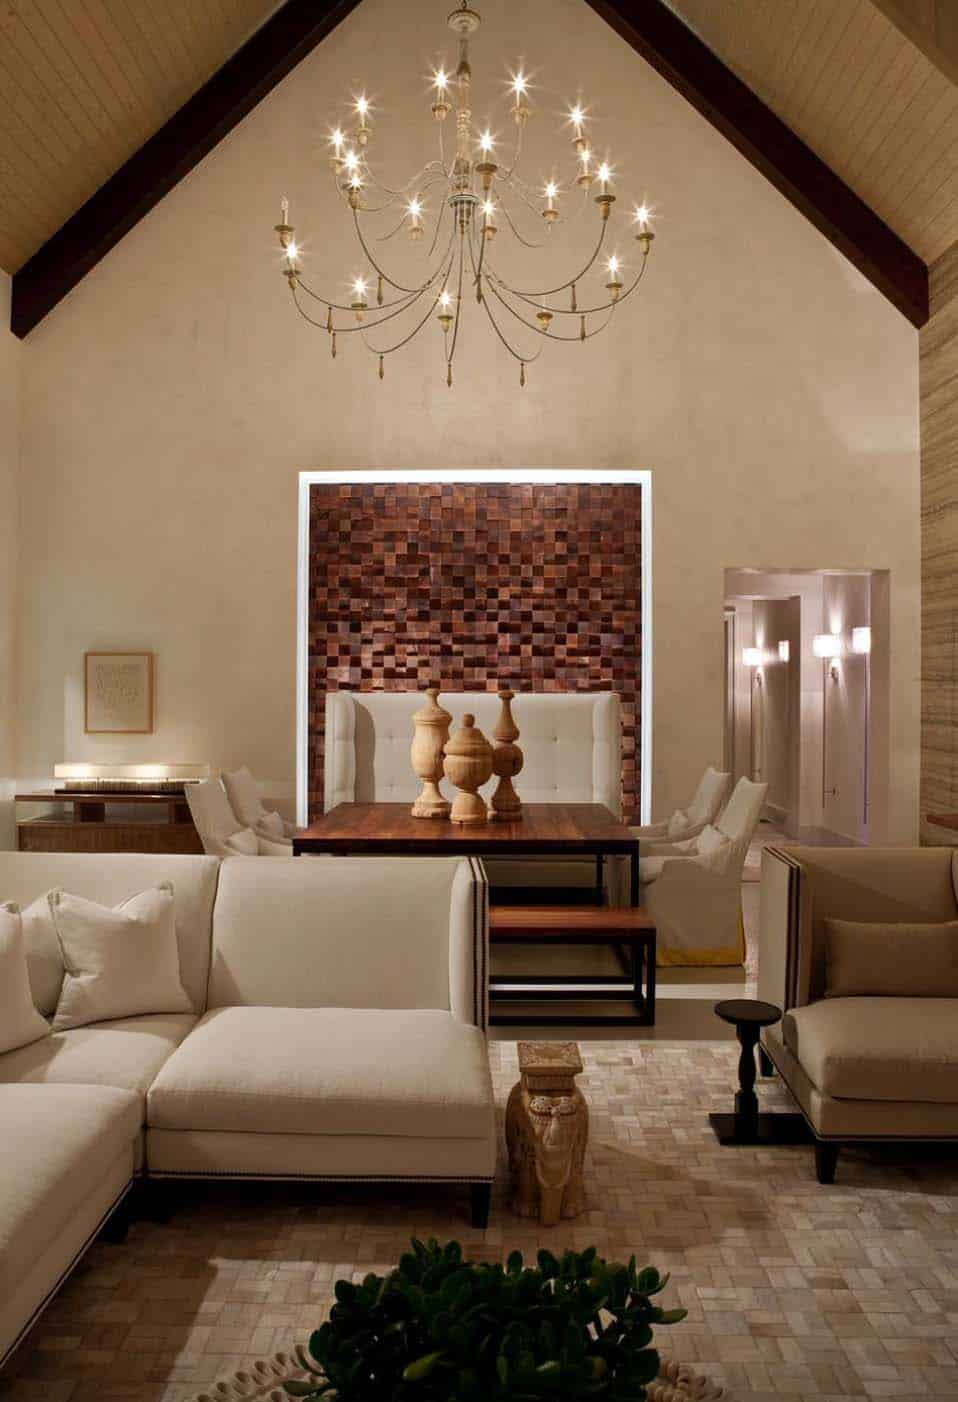
Above: The floor is covered with an ivory patched-cowhide rug that can take abuse from wet feet, perfect for a pool house.
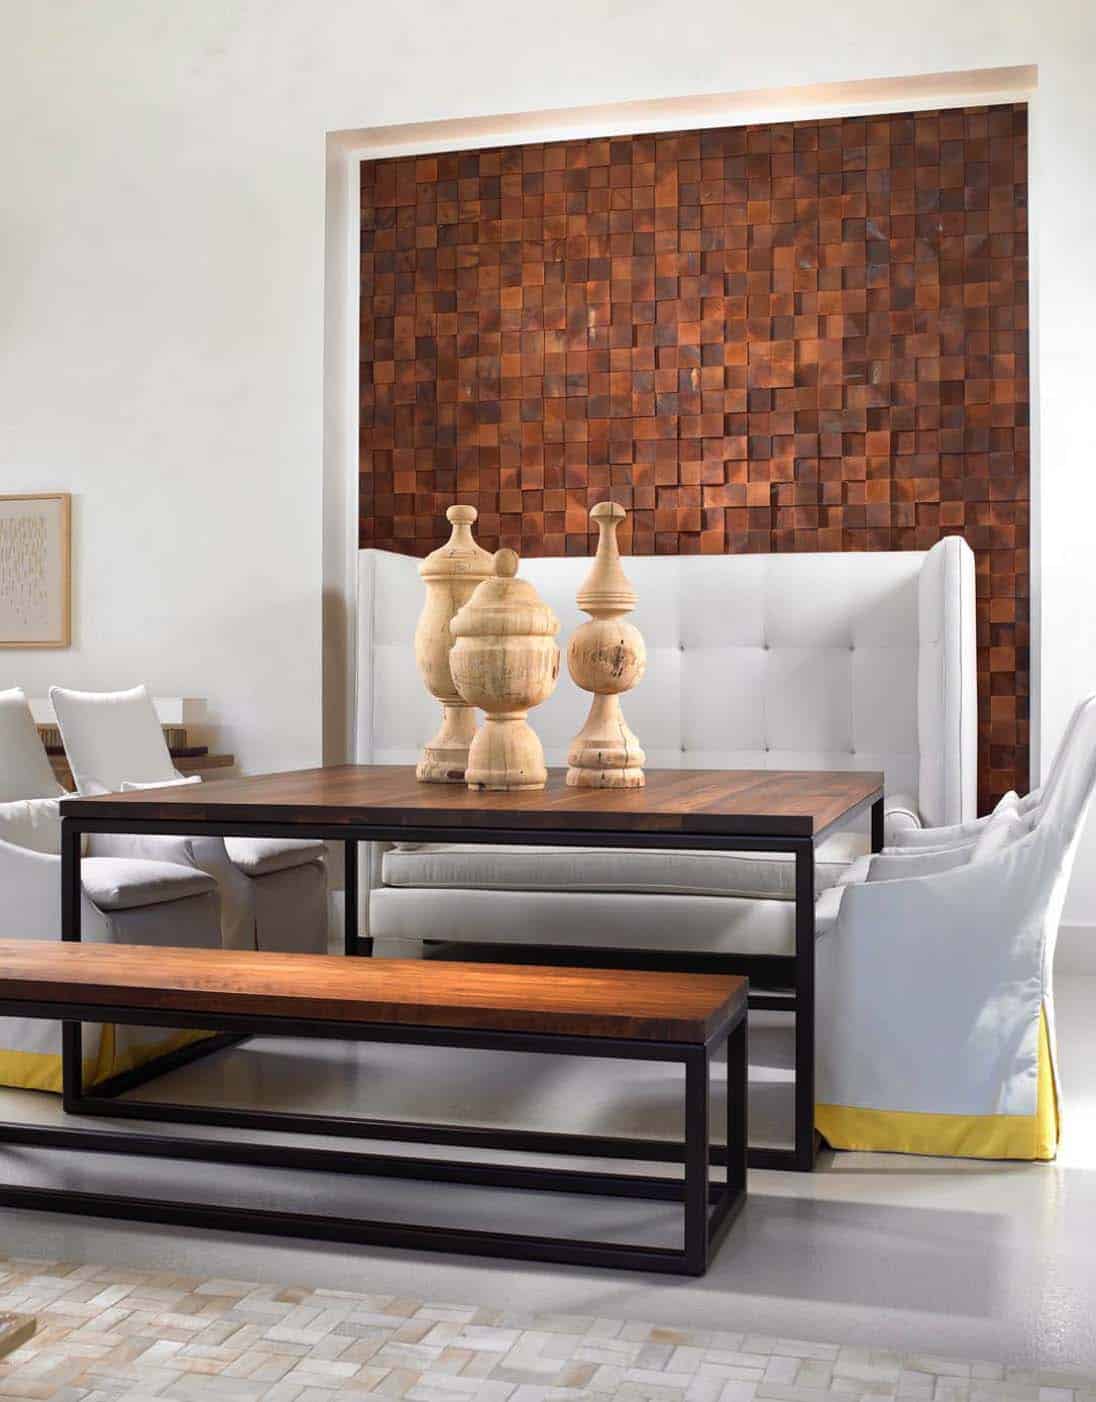
Above: This mosaic wall is made from western red cedar called “Projection,” it’s another product that Jamie created for her collection.
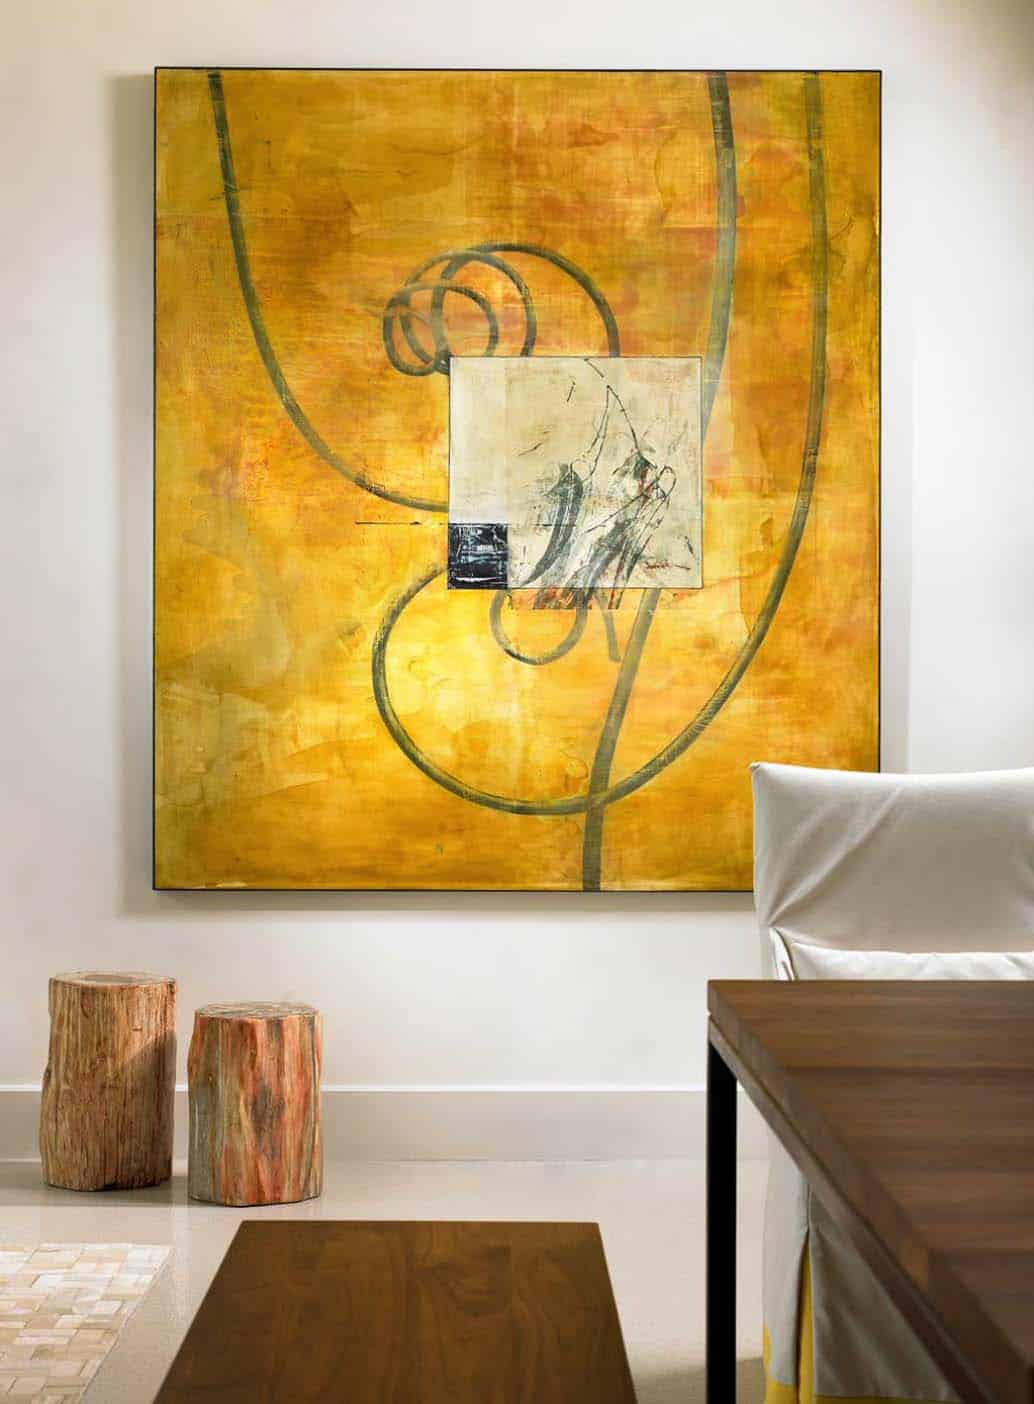
Above: Large-scale artwork was selected for their graphic nature and to add bold punches of yellow throughout as well as to match the proportions of the large walls and open floor plan.
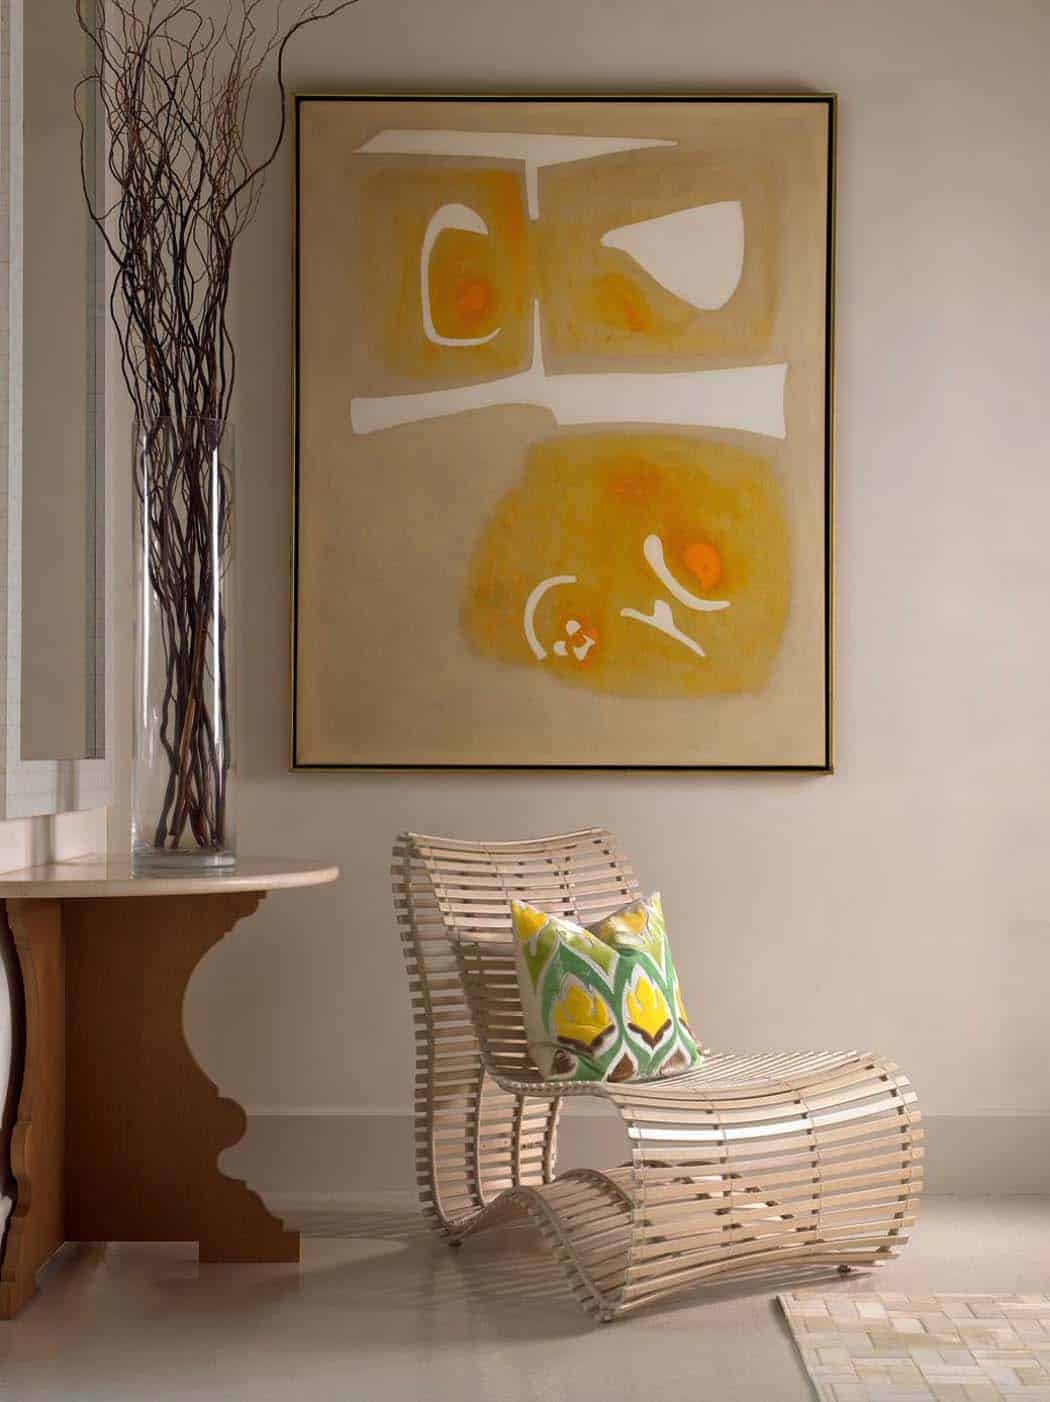
Above: The designer turned to sunny yellow in the otherwise mostly neutral palette.
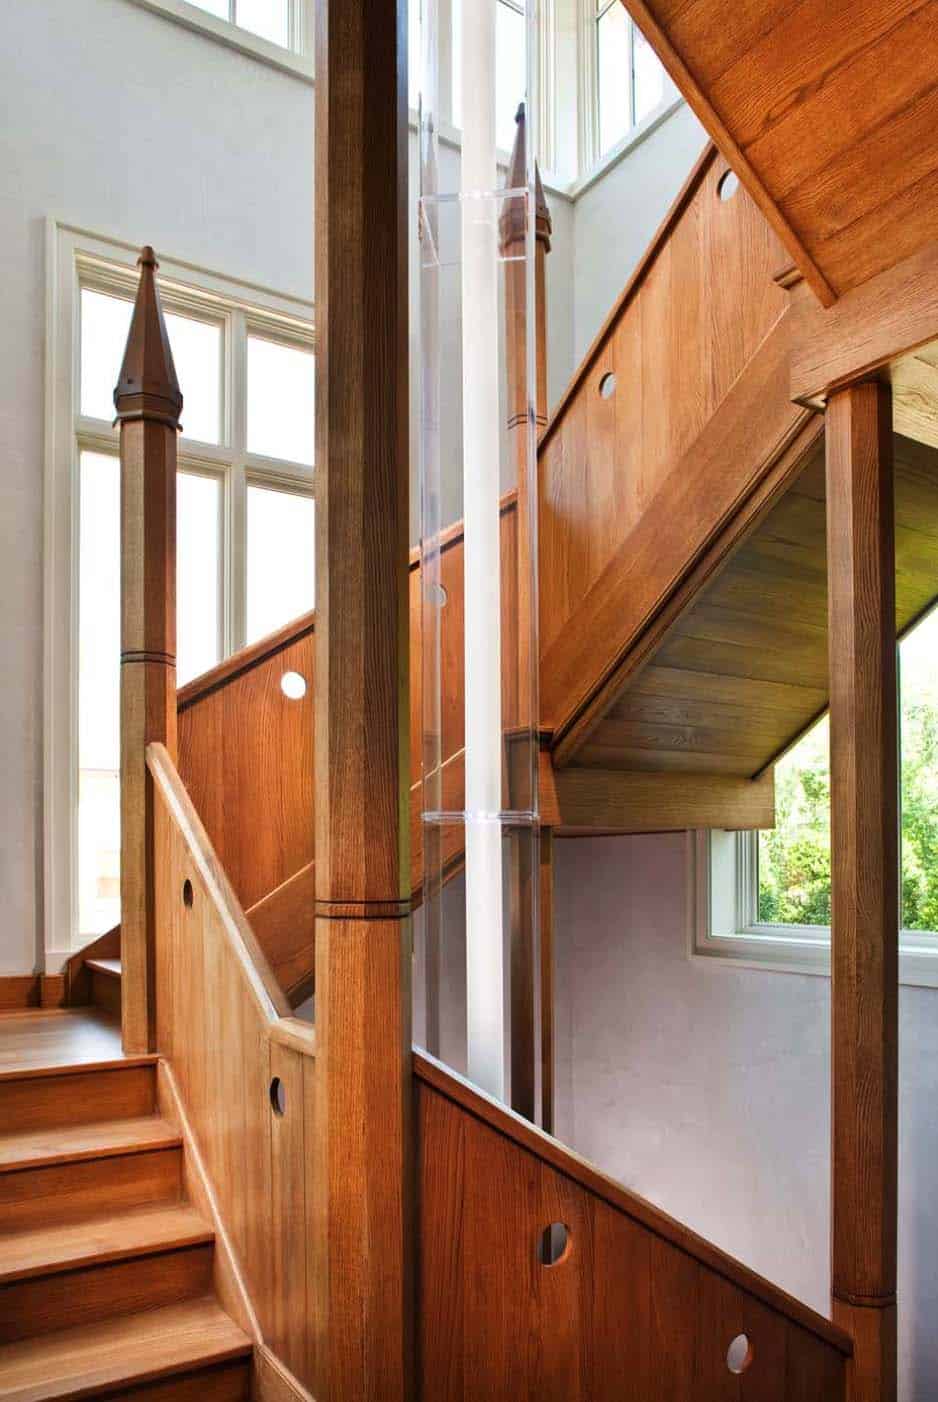
Above: This staircase continues the Gothic style with a solid wood railing that incorporates dramatic spires. The circles under the hand rail and the custom acrylic light adds modern touches to this traditional style.
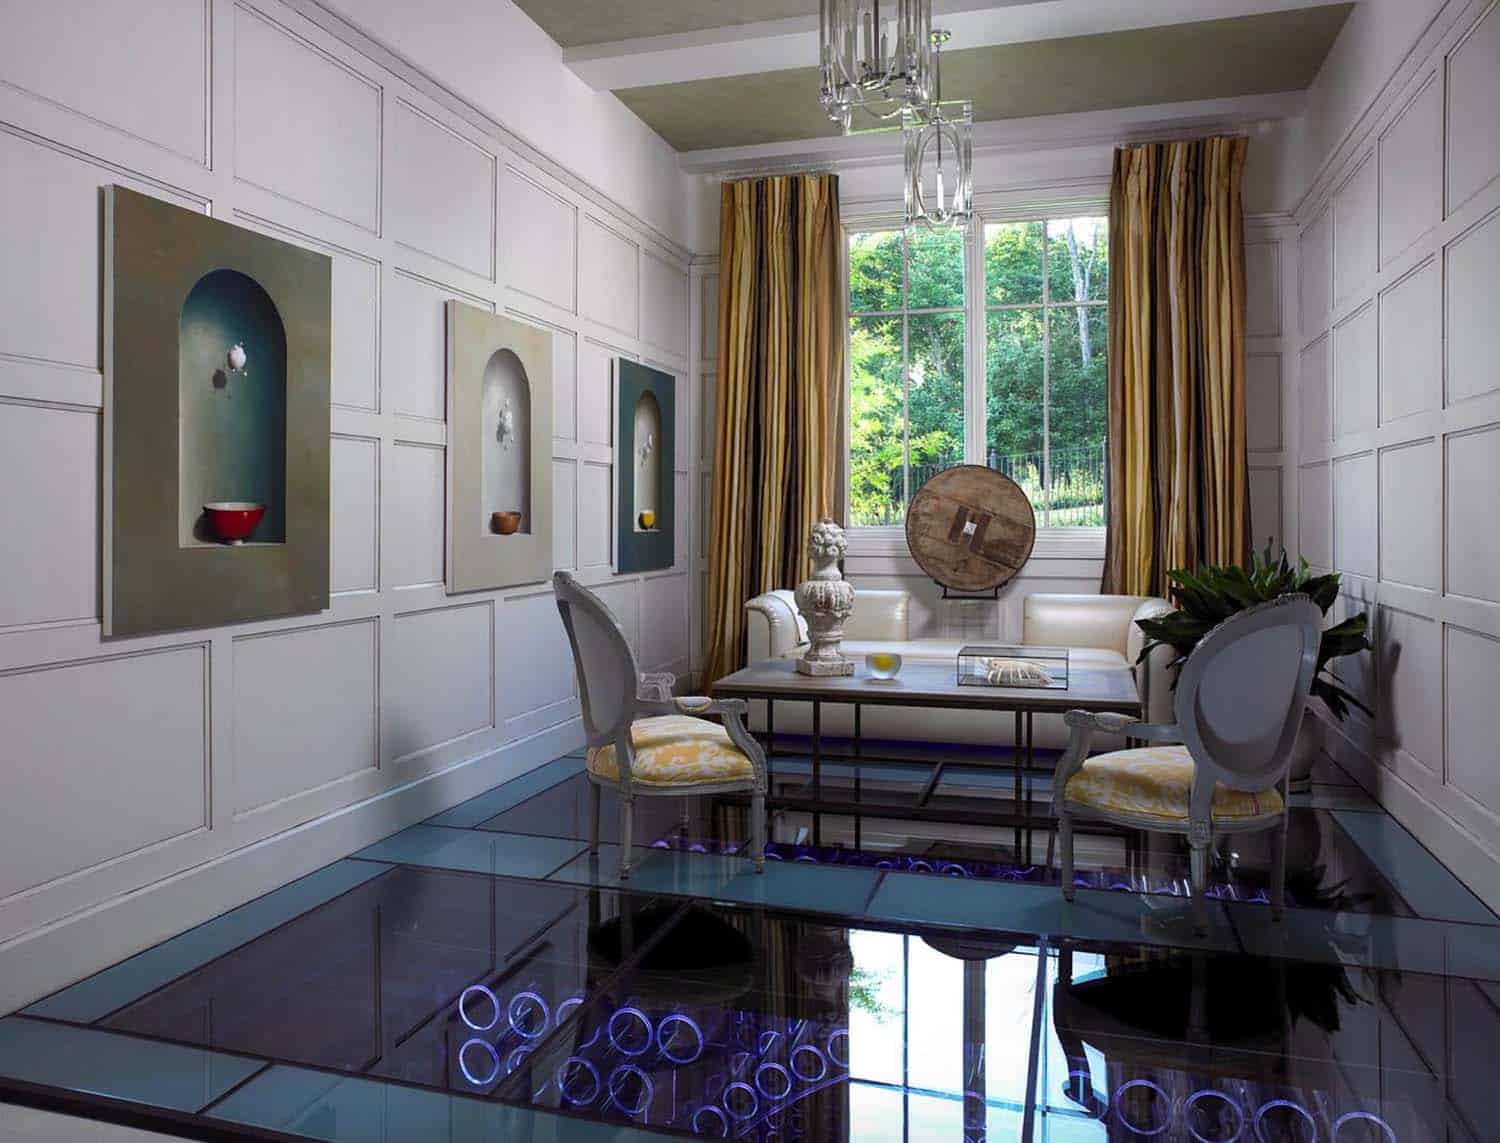
Above: The wine cellar was designed so that it could be viewed from above, so all details had to look good from every viewing angle. The wood had to be finished from above and lighting wiring had to be tucked away. The glass floor has a retractable screen when not entertaining to minimize light exposure on the wine.
Above: A maximum of 2,000 bottles can be stored in these futuristic Gothic arches, composed of acrylic and illuminated by LED lighting. The material used on the floor is called Mosaic, a patterned wood block that is finished after installation.
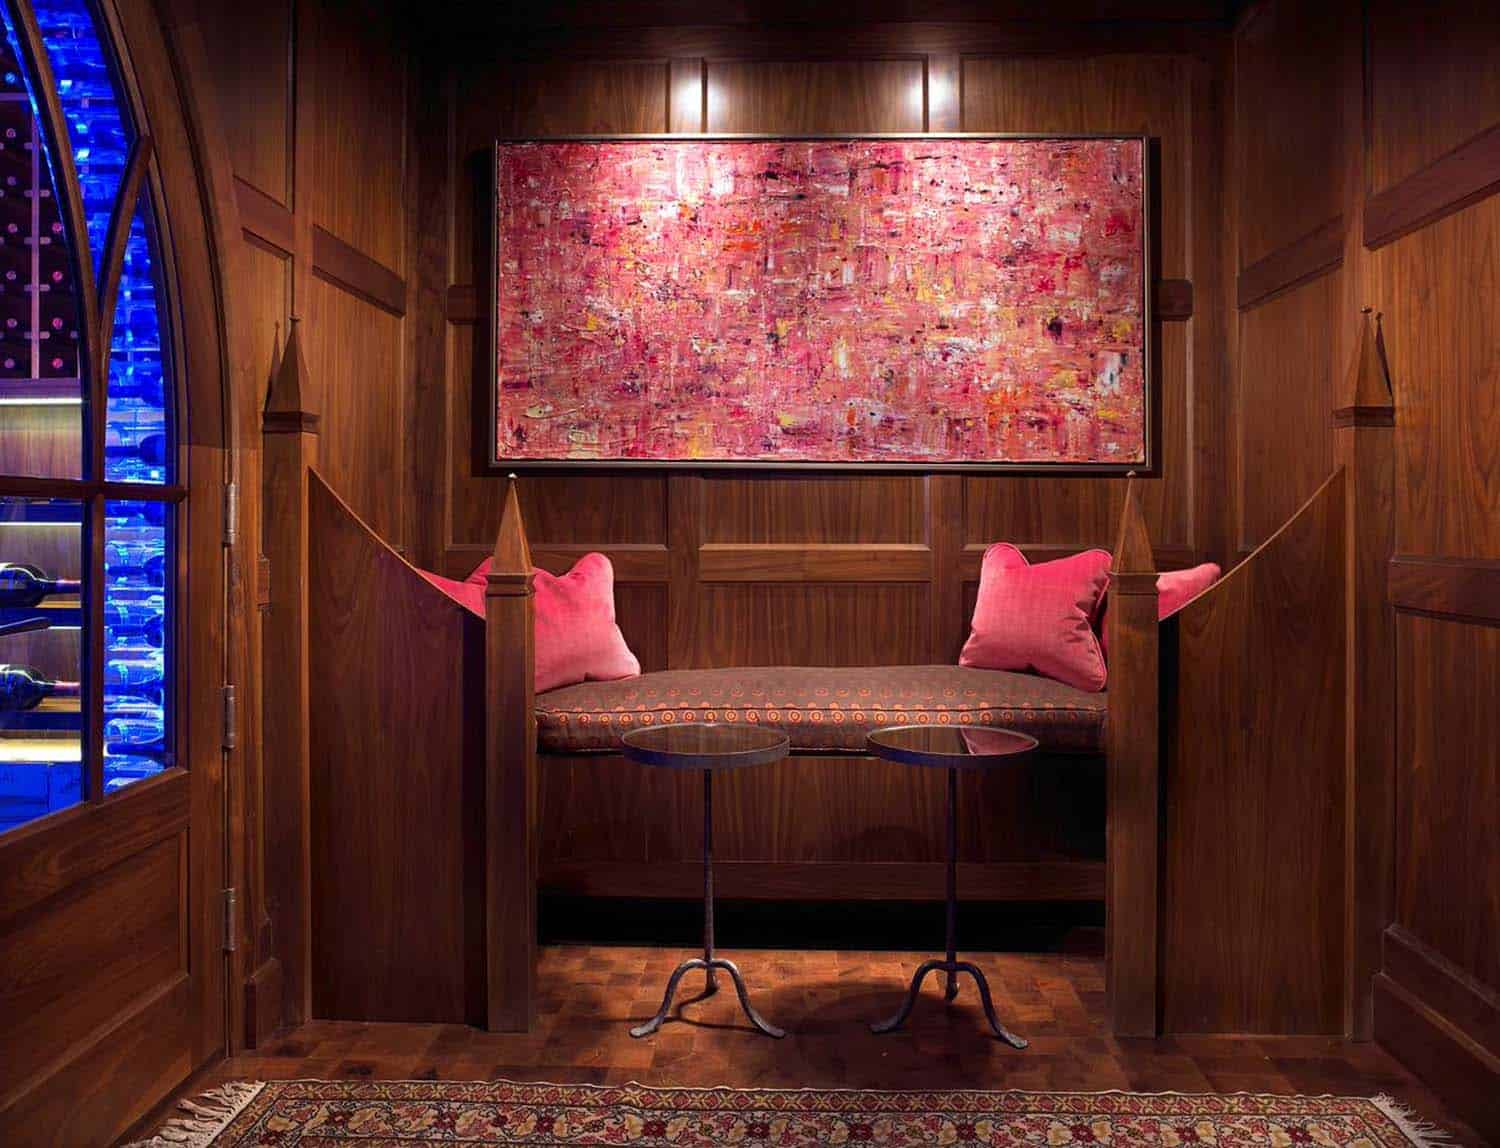
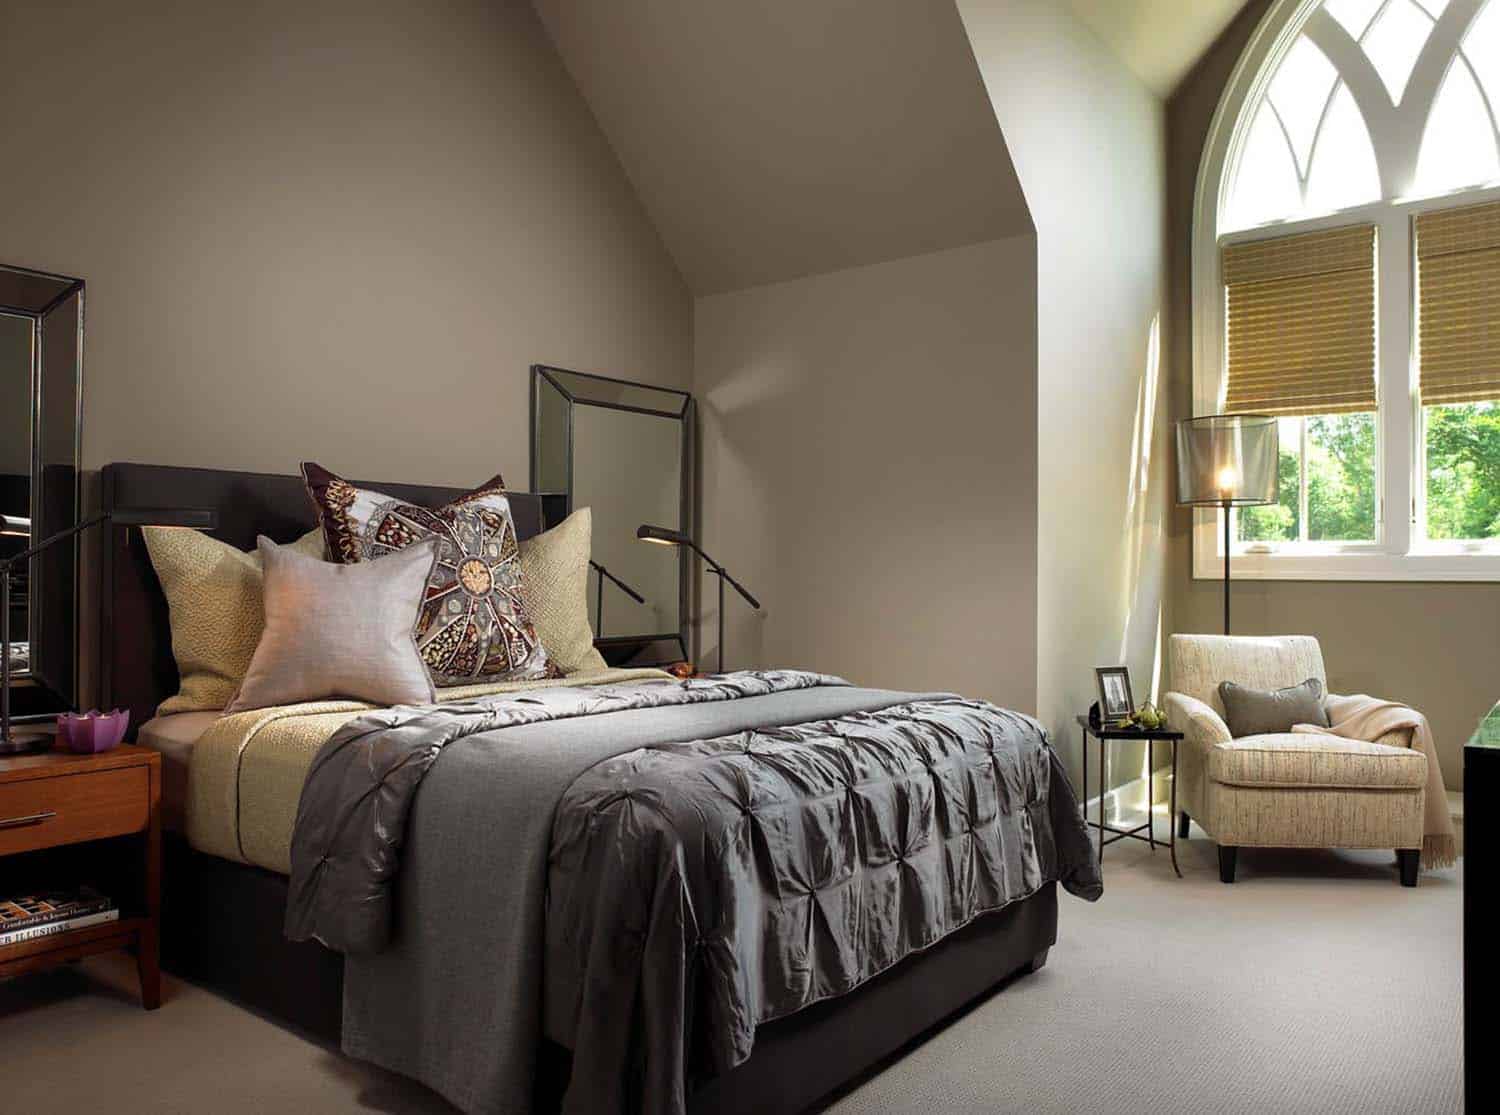
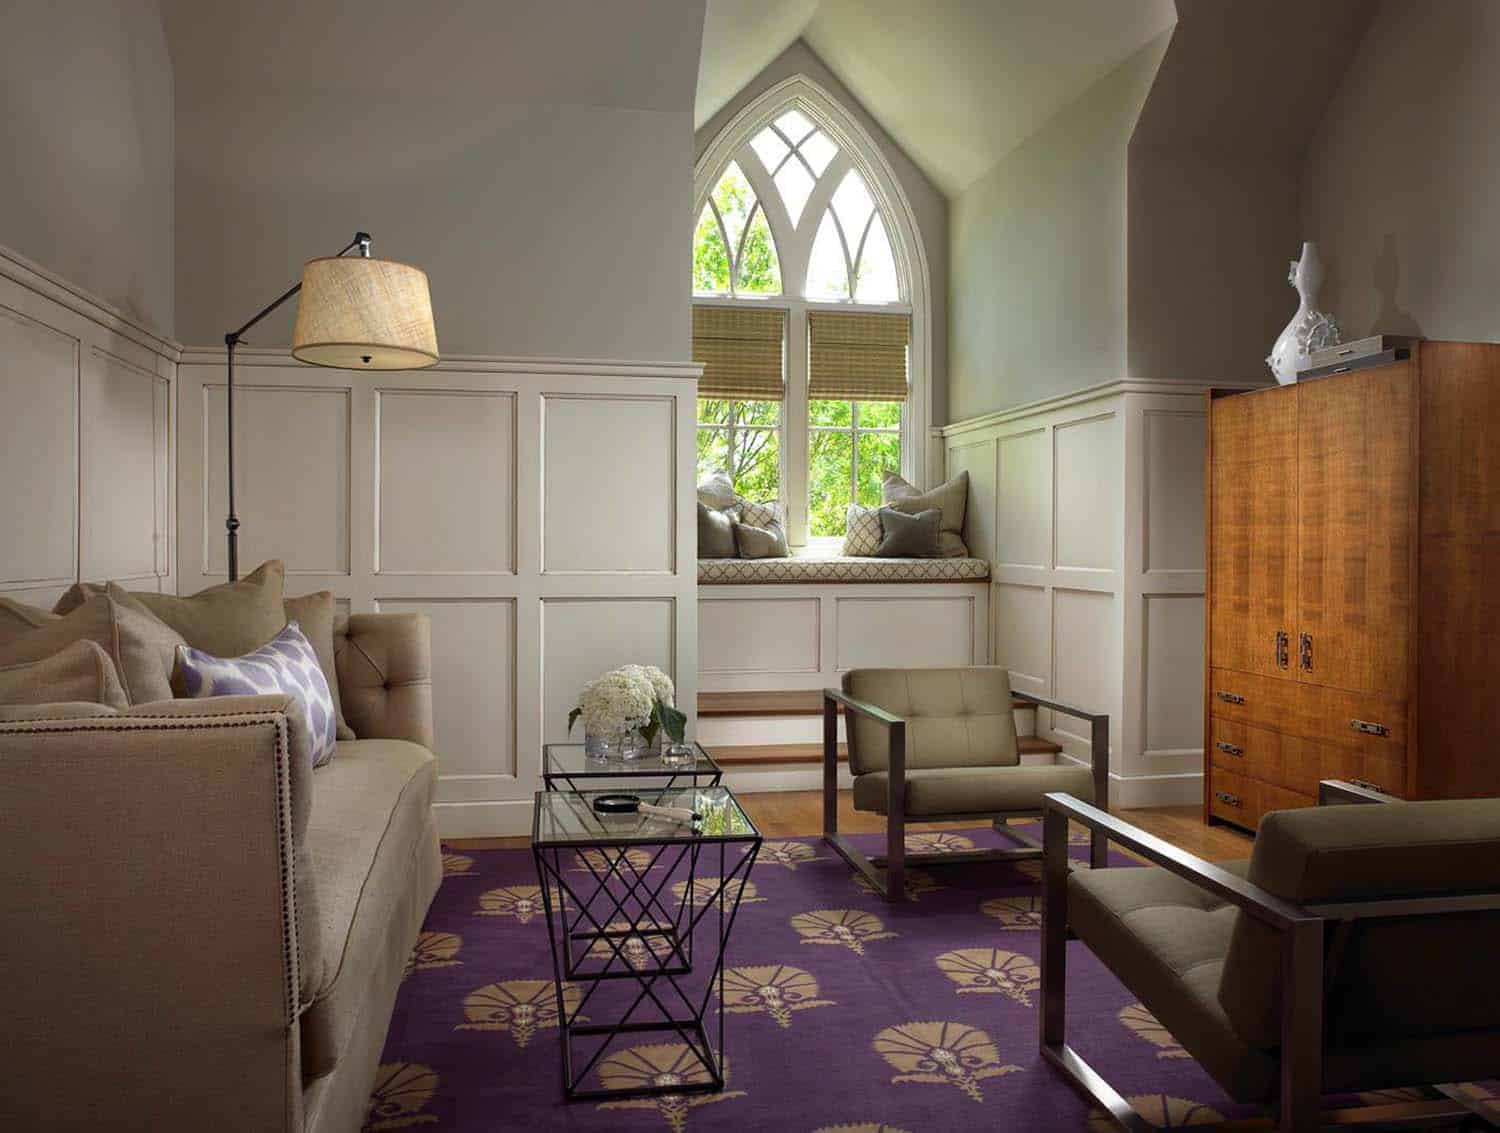
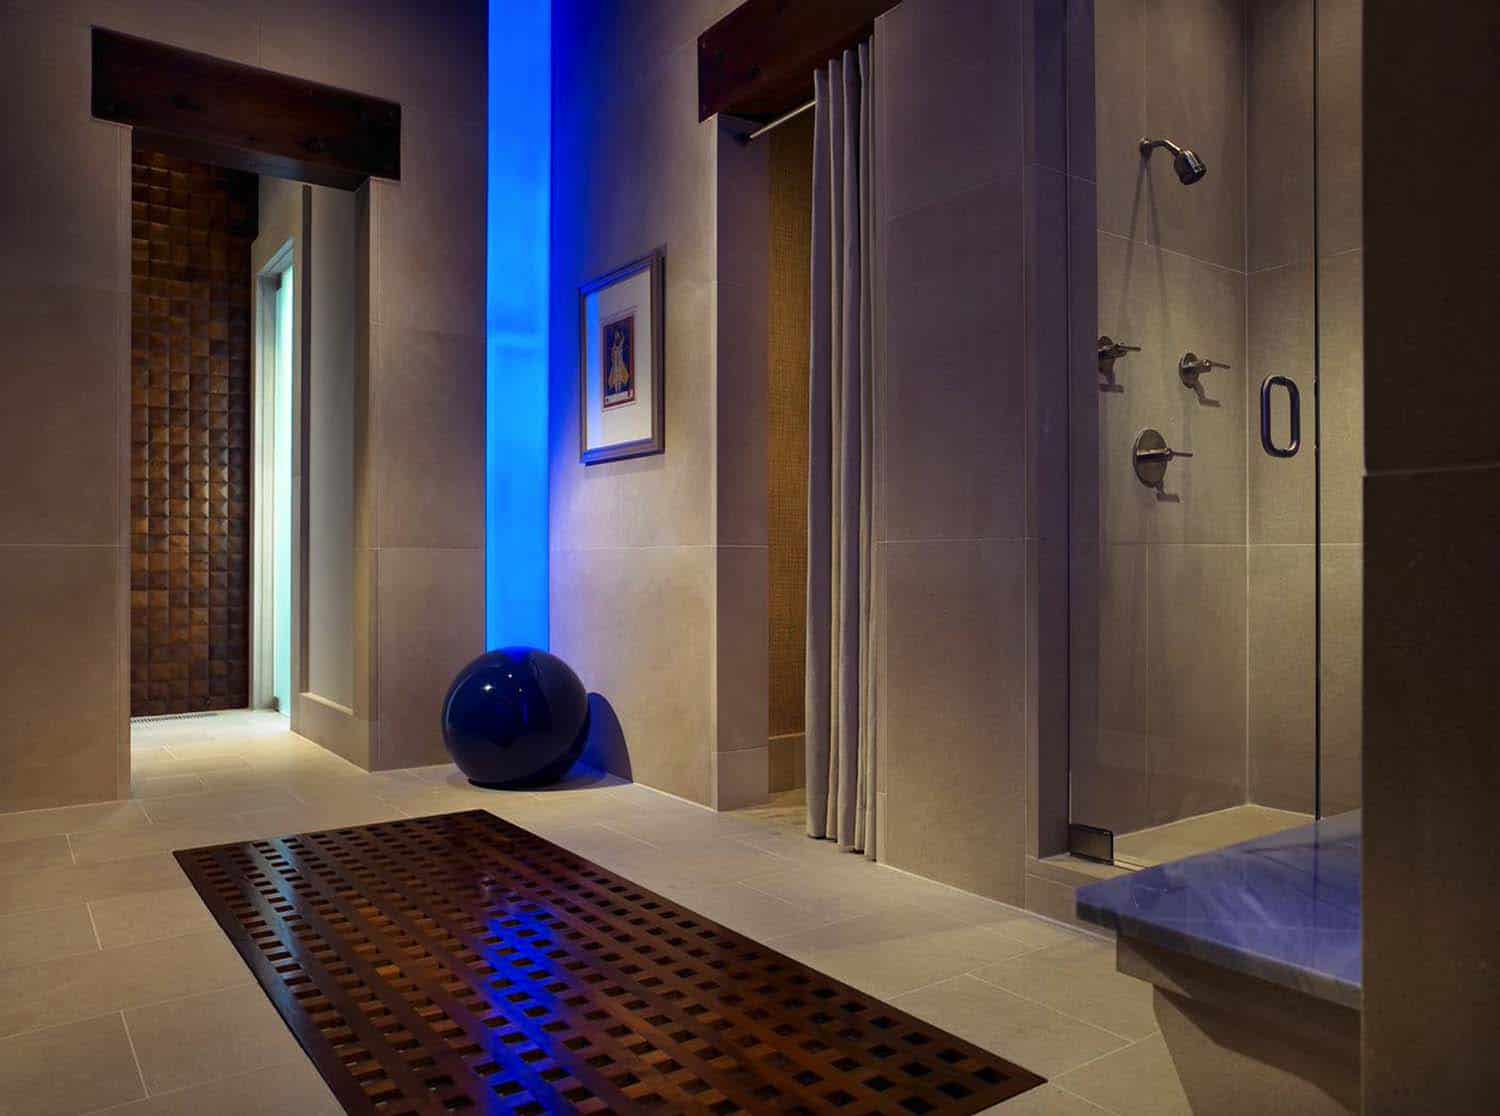
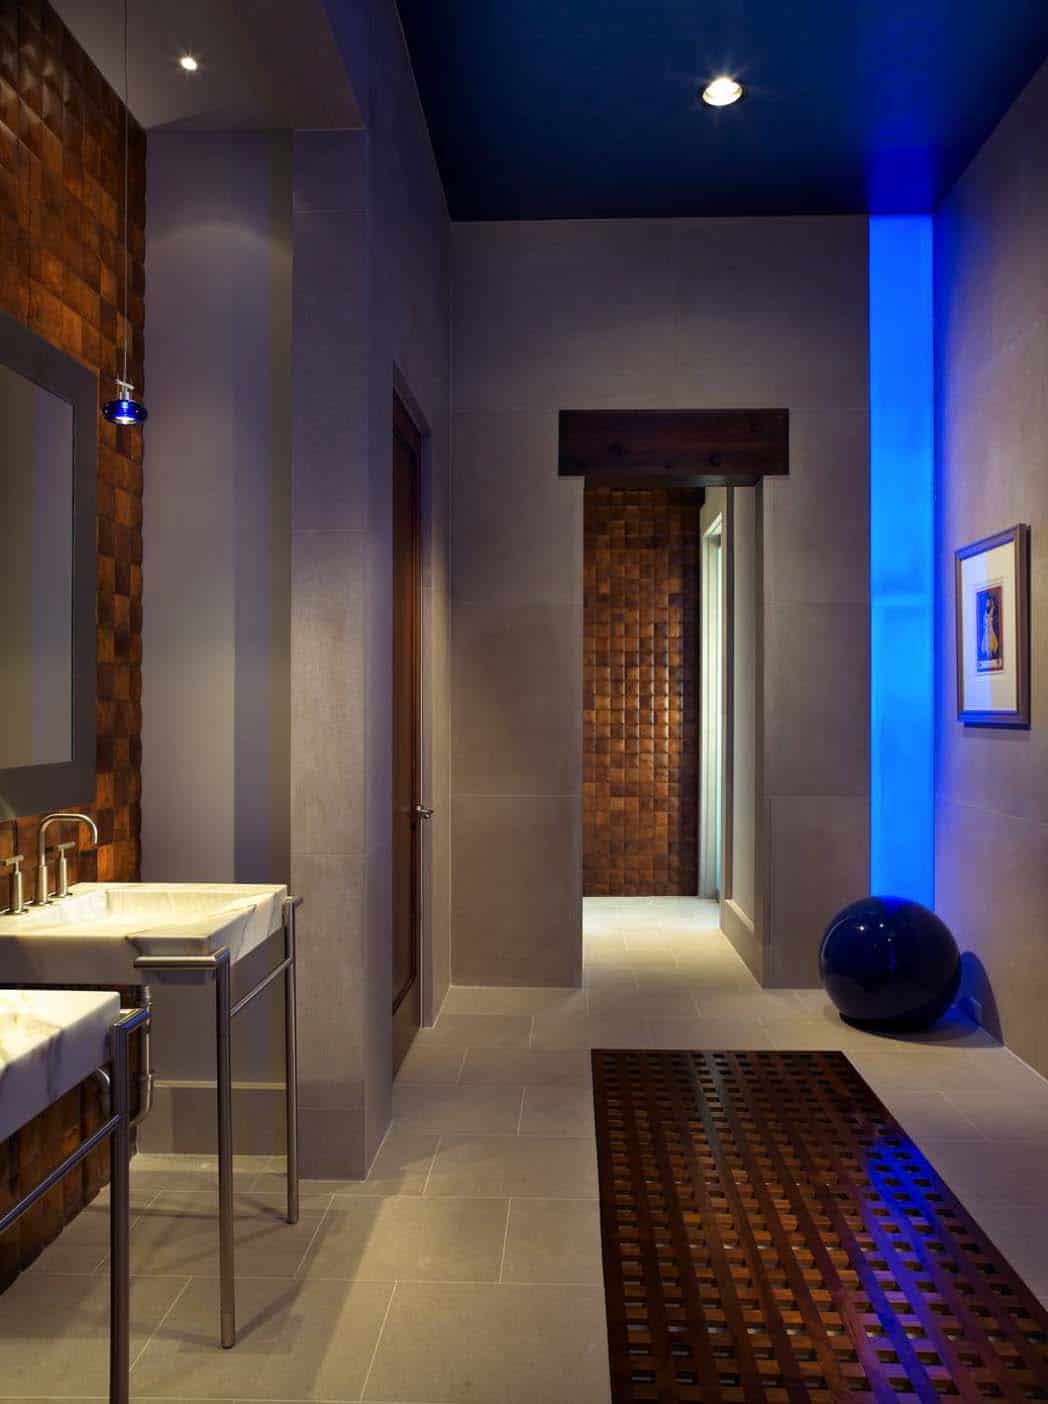
Above: This nook just off the wine cellar is used mainly as a cozy spot for wine tastings.Above: A private guest lounge is located upstairs.Above: This large bathroom is on the main level with the living area and kitchen, perfect for rinsing off after a swim.
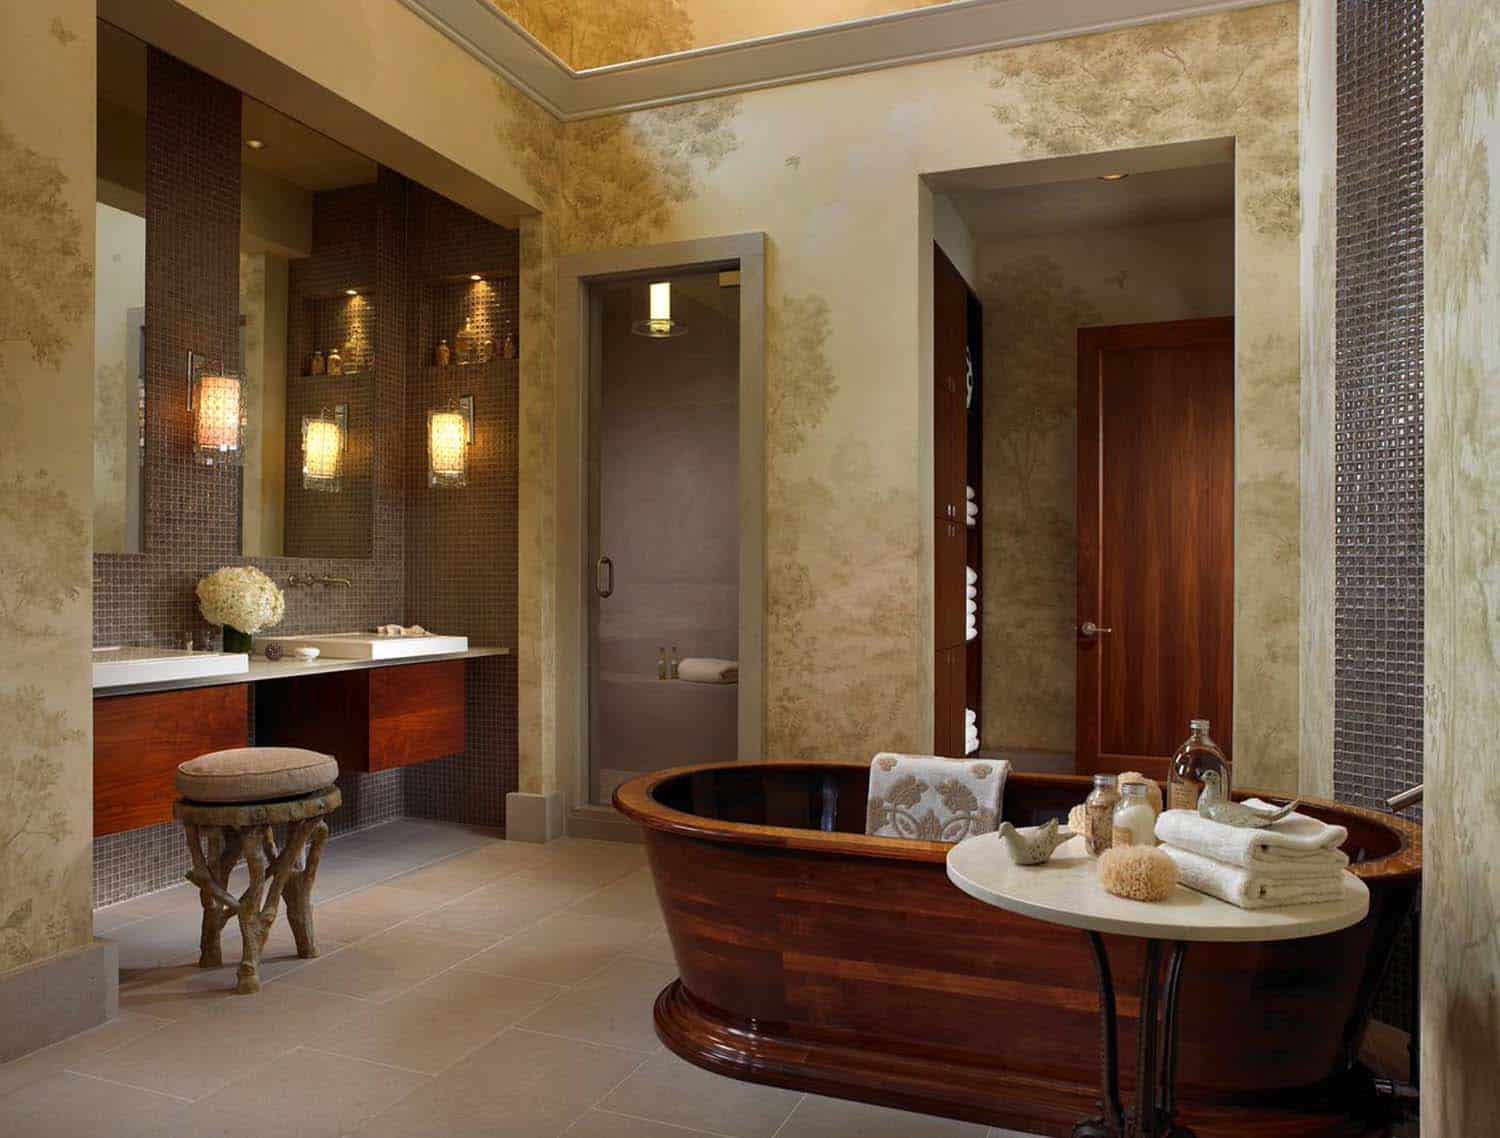
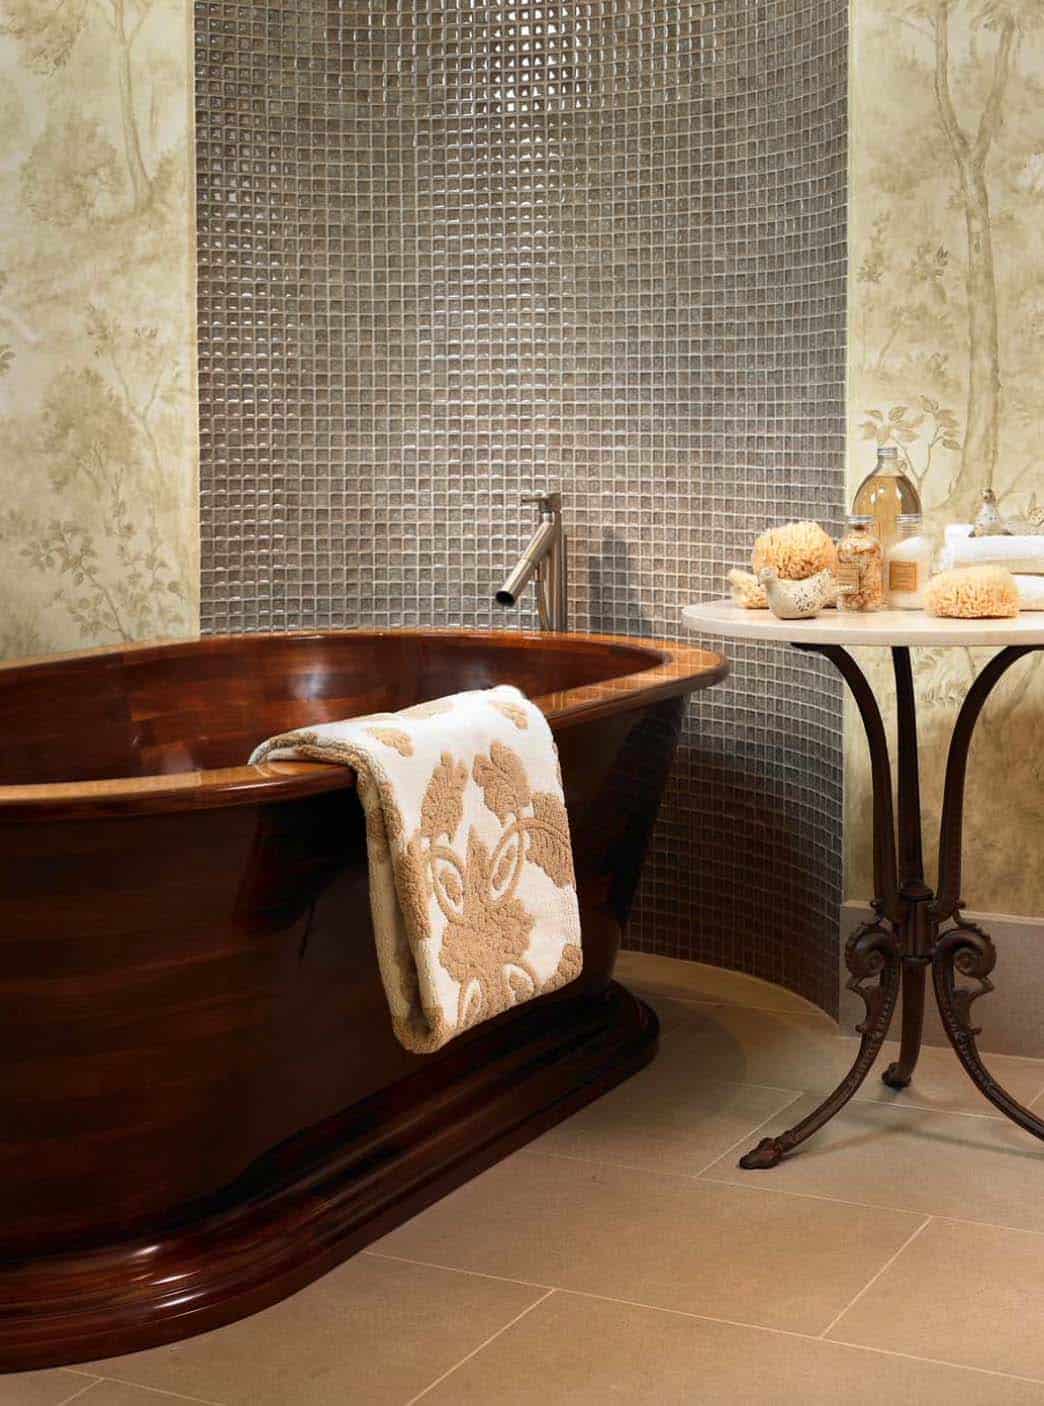
Above: The bathtub is solid walnut with birdseye maple inlay trim, another of Jamie’s creations. The tub is inspired by luxury wooden yachts, made entirely of wood and sanded with several layers of polyurethane for a shiny, smooth finish.
Above: The stunning arboreal walls in the bathroom were hand-painted by a Nashville artist.
This guest post was written by Reddit user doitdoitdoit, aka Michael Korostelev, a very talented woodworker and cigar aficionado! CheapHumidors.com would like to thank Michael for his contributions to our blog, and would encourage our readers to try their hand at building your own humidor using this step-by-step guide! Please feel free to leave any questions or comments in the comment section below!
After building a few shelves and coffee tables that didn’t fall apart, I realized I was actually having some fun and what I was doing was being called woodworking. I was also running out of room in my small house so if I wanted to continue making stuff, I would have to give it away. Luckily it is wedding season.
Over the past few years my buddies and I gradually got into smoking cigars and will always have a few every time we meet up. As one of them was getting married, I thought about building a humidor but was put off by the fact that this really was just a groom gift. After looking at the wedding registry and seeing stuff like candles, curtains and dish sets, maybe one humidor wont hurt.
I knew nothing about humidors before making this and after some initial research, it seemed pretty intimidating considering all the issues with wood movement and moisture on the humidor interior. It actually ended up not too bad and is definitely DIY-able, and of course you cant succeed if you don’t try so here are some build details:
Tools:
Table saw
Plunge router (could be optional)
Chisels
Sandpaper
Flush cut saw (or some fine tooth small saw)
Clamps
(there may be more I am forgetting, but as cigar smoking men, you or your buddies should have them laying around somewhere)
Materials Used:
½ Inch Red Oak
½ Inch Maple plywood
1/8 Inch Spanish cedar
Redwood burl slab
Decorative inlay strips
1/42 Walnut paperbacked veneer
Hygrometer and Humidifier
Total cost: approximately $70
The humidor is made out of Red Oak (home depot oak boards) for the sides, Maple plywood for top and bottom, walnut veneer, Redwood burl edge banding and some inlay strips I found on eBay. On the inside it is lined with Spanish Cedar. It is important to note that the top and bottom are plywood because of wood movement. Wood expands and contracts perpendicular to the grain as it absorbs and releases moisture. If the top and bottom were made from solid wood, the box would warp or split at the joints.
How to Build a Humidor in 12 Easy Steps:
1: These are most of the materials minus the Spanish Cedar and inlay strips.
2: Using the table saw, I cut the Red Oak into the sides of the box. To glue on the veneer, I watered down the glue slightly so it can be brushed on. If I were to do this again, I would veneer first and cut the Oak board later.
.*
3: I used a router table to make rabbets on all the box sides. I used making tape to prevent tear-out. This can also be done on a table saw either with dado blade or multiple passes with a regular blade.
4: After the sides were complete, I cut the tops from maple plywood to size, glued the whole thing together and put veneer on the top.
5: Using the table saw, I cut small rabbets for the edge banding on all edges of the box. This step is easy and should be done without adjusting the fence.
6: Cut small redwood strips from my big chunk. Used masking tape here so they don’t crack. This wood is pretty brittle.
7: To make space for inlay, extend some shallow cuts on the table saw on the edges of the box. This step is similar to the edge banding cuts but much more shallow.
8: Now I can glue in all the edge banding and inlay. After gluing, I sanded the whole thing with a random orbit sander. Be careful not to sand through the veneer here.
9: This is a scary step. Cut the whole thing in half. This has to be done with multiple passes on all 4 sides, so it is important that each time the blade lines up.
10: I cut the groves for the quadrant hinges using a plunge router. This can also be done with a drill with forstner bits and some chisels. Which I did use to clean up.
11: Finally install glue the Spanish cedar. The edges have to be sanded just enough to let the box tightly close.
12: For the finish, I sprayed the whole thing with lacquer. About 10 coats applied a few minutes apart. After the lacquer cures ( a few days ), I wet sanded with some fine grit sand paper (2000) and buffed it with polishing compound to get an even shine.